Casio fx-991ES PLUS not turning on? You're not alone. If your calculator suddenly stopped working before a big test or class, don’t worry — there's a quick and easy fix you can try at home.
I faced this exact issue, and after trying a few things, I found a reliable step-by-step solution. I’ll walk you through each part of the repair, including the right tools, the correct way to open the calculator, and how to safely replace the battery. No need to buy a new one—just follow this DIY guide and save your time and money.
The post you're reading contains affiliate links. If you click on one, you will be directed to the Amazon website where the product is listed. If you decide to make a purchase, I may earn a small commission—at no extra cost to you.
What You’ll Need: The Right Screwdriver
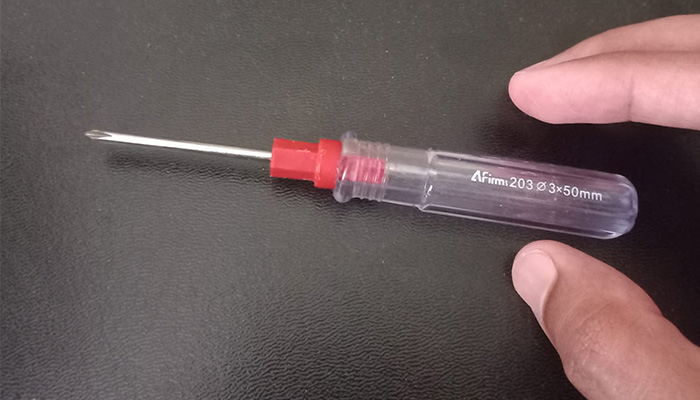
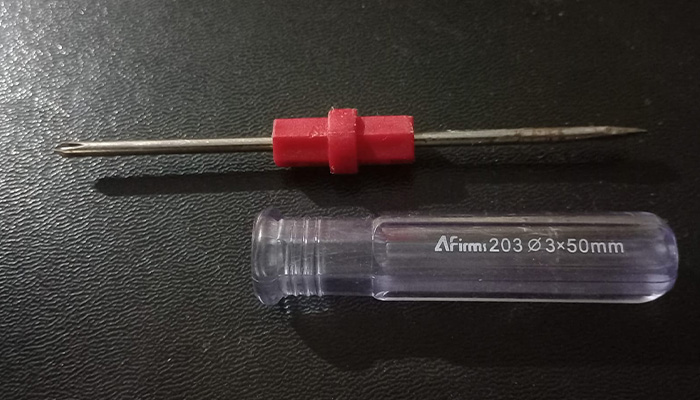
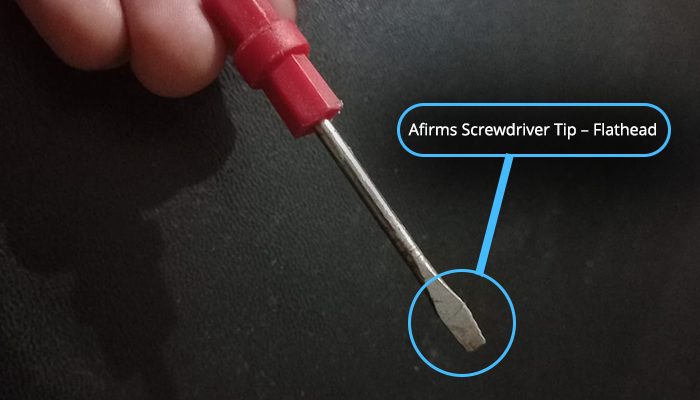
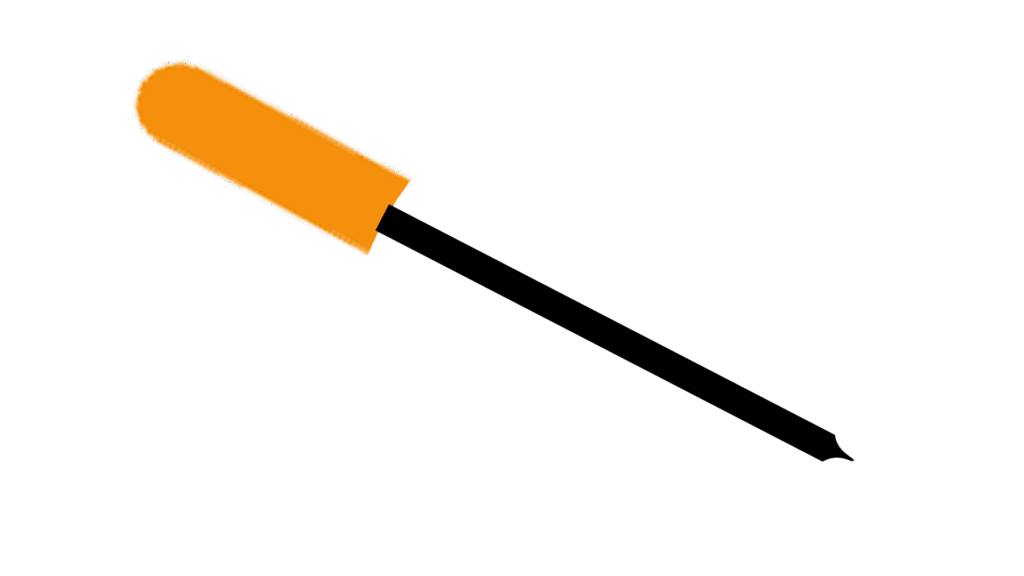
To begin the repair, you’ll need a small, precise screwdriver. I highly recommend the Afirms 203 model ⌀3×50 mm tool.
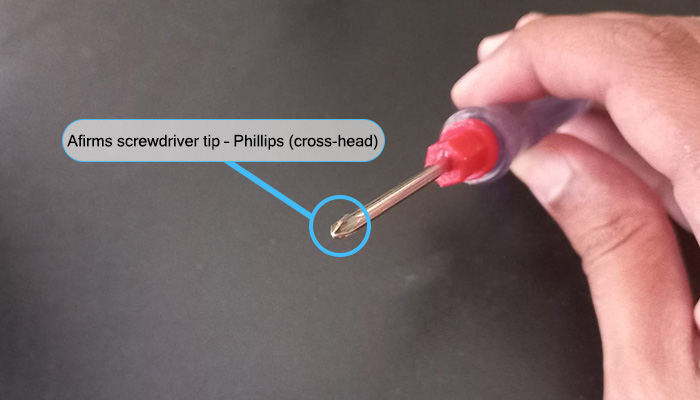
This screwdriver features both Phillips (cross-head) and flathead tips, each serving a purpose in the repair process.
Why Afirms 203 is Perfect:
Cross or Phillips head: Will be used to remove the calculator’s casing screws.
Flathead tip: Ideal for safely prying out the battery without damaging internal components.
Using the correct tool makes the entire process smoother and safer for your device.
Step-by-Step Fix
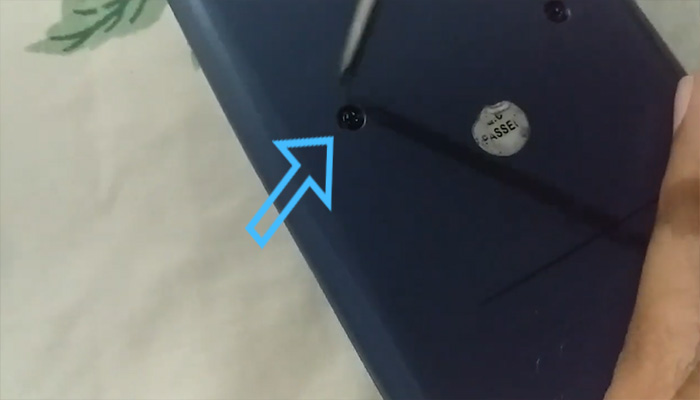
Step 1: Unscrew the Rear Panel
Using the Phillips (cross-head) side of the screwdriver, begin removing all the screws located at the back of your calculator. These screws keep the calculator’s back panel securely attached.
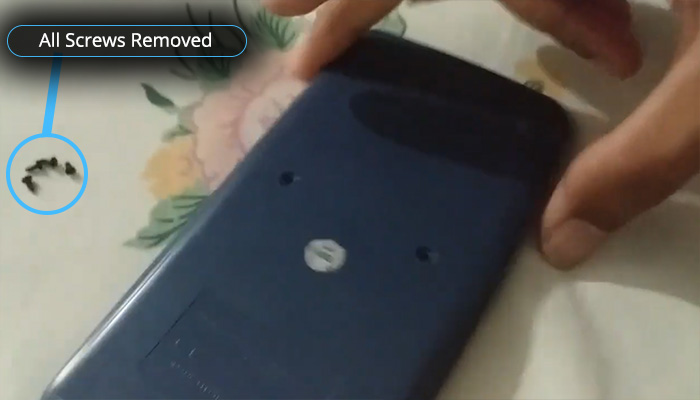
Step 2: Remove the Rear Panel
After removing all the screws, carefully lift the rear panel. A little wiggling may be necessary, but do not use force. The internal components are now accessible.
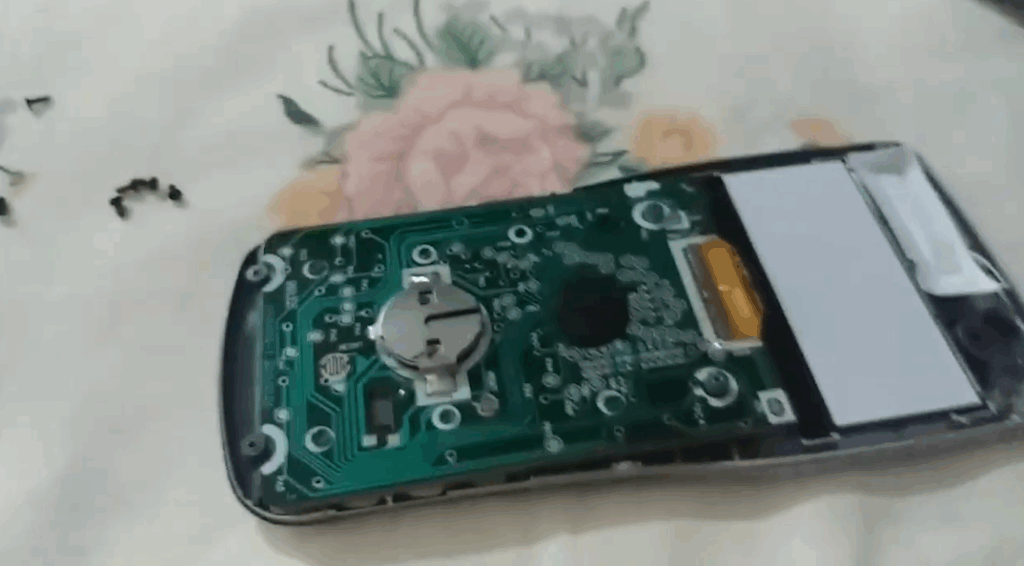
Step 3: Spot the Battery Slot and Remove the CR2025 Battery Carefully
The Casio fx-991ES PLUS uses a CR2025 coin-cell battery. Over time, this battery drains and the calculator stops functioning.
But here’s the tricky part: removing it incorrectly can damage the battery clip or even the circuit board.
How to Properly Remove the CR2025 Battery
Locate the battery clip: It’s a metal bracket holding the CR2025 cell.
Locate the top slot: You’ll find a small rectangular hole on the top side of the metal holder.
Use the flathead screwdriver:
Insert it gently into the top slot.
Push the battery downward, towards the bottom of the calculator.
The battery will slide out from under the metal contact.
Lift it out: After it begins to pop out, gently grip it with your fingers and remove it completely. If it’s still stuck, gently pry it using the flathead tip—but avoid prying from the bottom, which may break the holder.
Important Tips:
Don’t use force.
Never push from the bottom.
Apply gentle downward pressure through the small rectangular hole at the top of the metal holder, using the slot as a guide. This will help release the CR2025 battery safely.
Step 4: Insert the New Battery
Buy a fresh CR2025 battery, which is widely available online and at watch repair shops or electronics stores. I got mine from a nearby watch repair shop. Insert it into the same slot, sliding it from the bottom toward the top under the metal clip, the reverse of how you removed it.
Screw all the screws tightly using the Phillips head.
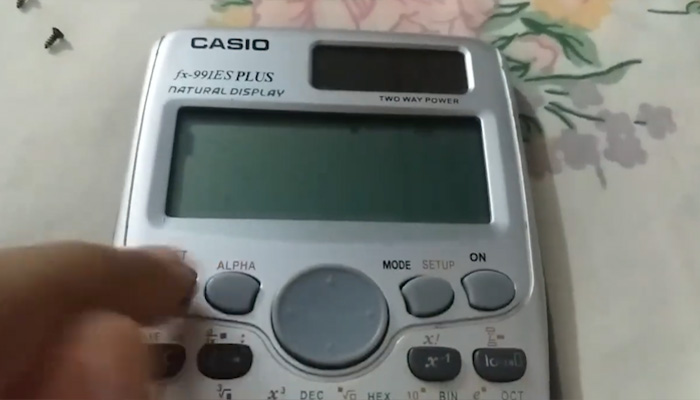
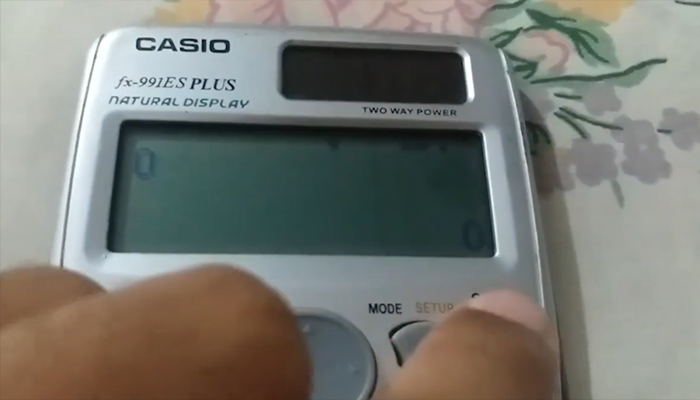
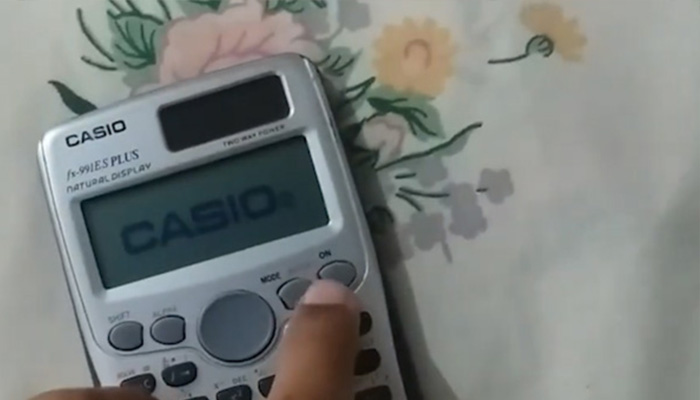
Now turn the calculator so the front side and buttons are visible, then press the ON button.
"Voila! The calculator should now power on and is ready for you to start entering calculations."
Image Credits:
All images used in this post were created and edited by Saad Zaman Tanoli – Get Information and Knowledge. Note: Any brand names or logos shown are the property of their respective owners and are used here for educational purposes only.
FAQs – Frequently Asked Questions
Q1: Why did my Casio fx-991ES PLUS stop working?
Answer: Most likely, the internal CR2025 battery is dead. Scientific calculators often fail to power on due to battery issues, especially after a long period of non-use.
Q2: Does the Casio fx-991ES PLUS have a reset button?
Answer: Yes, there’s a reset function. After replacing the battery, you can press the “Shift” + “9” + “3” + “=” + “AC” keys together to reset the calculator to factory settings.
Q3: Can I use CR2032 instead of CR2025?
Answer: Technically, no. The CR2032 is slightly thicker than CR2025 and may not fit the battery clip properly. Always stick with the CR2025 to avoid connection issues.
Q4: What if my calculator still doesn’t turn on after battery replacement?
Answer: If your Casio fx-991ES PLUS still doesn’t turn on after replacing the battery:
Double-check the battery placement – Ensure the new CR2025 battery is correctly positioned with the positive (+) side facing up and properly secured under the metal contact.
Clean the contact points – Use a dry cotton swab to clean any dust or corrosion on the battery terminals or metal contacts.
Try a soft reset – Press and hold the SHIFT + 7 + ON buttons simultaneously for a few seconds
Use a known good battery – Even new batteries can be faulty. Try replacing it again with a different CR2025.
Check for internal issues – If none of the above works, the calculator may have internal damage or a faulty component. In that case, professional repair or replacement may be necessary.
Q5: How long does a CR2025 battery last in the Casio fx-991ES PLUS?
Answer: On average, it lasts 2 to 3 years, depending on usage. Heavy use (e.g., for long study sessions or exams) may reduce its lifespan.
Facing Other Annoying Tech Errors?
While fixing your calculator, you might also come across frustrating software issues. If you're seeing a message like “Please activate developer mode” in your Chrome browser, don’t worry — we’ve got you covered with this simple Orange Monkey extension fix.
Conclusion
If your Casio fx-991ES PLUS isn't turning on, don’t rush to buy a new calculator. This DIY fix at home is not only simple but also cost-effective. By replacing the CR2025 battery using the proper method and tools like the Afirms 203 screwdriver, you can bring your calculator back to life in under 10 minutes.
Just follow the right steps: Unscrew → Open Panel → Remove Old Battery → Insert New One → Reassemble.
This guide ensures you don’t damage your device and helps you get back to solving equations without delay. Whether you're a student preparing for exams or a professional needing quick calculations, fixing this problem yourself will save both time and stress.
Let Me Know!
Did this guide help you? Leave a comment or feedback below—or share the video if you found it useful!
 How to Properly Remove the CR2025 Battery
 Conclusion
 Let Me Know!