Introduction
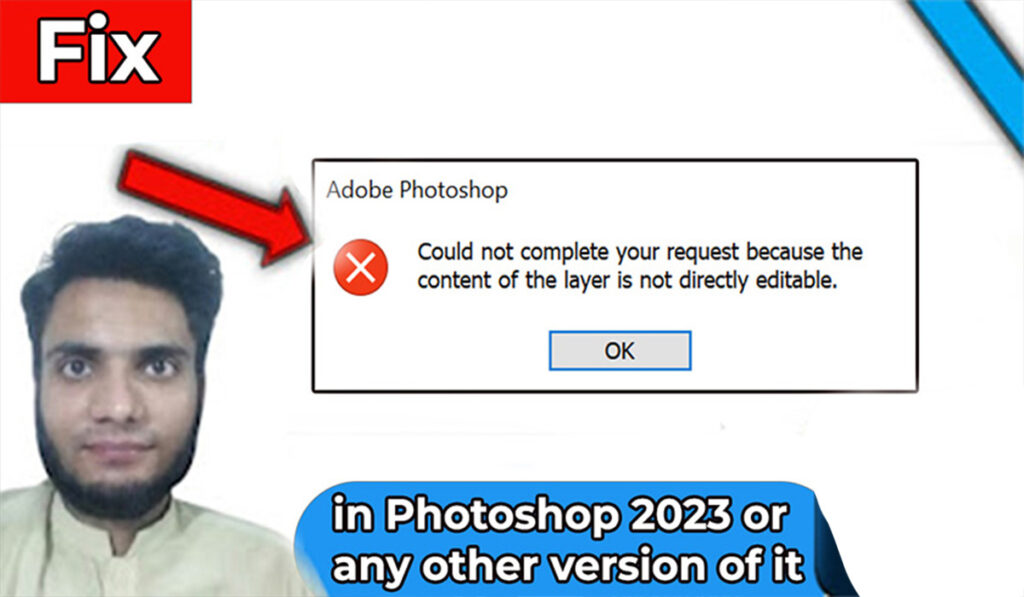
Hi there, and welcome to my blog! If you’ve landed here, chances are you’ve run into one Photoshop layer not editable? You’re not alone. This is one of those frustrating Photoshop errors that seem to pop up out of nowhere. You try to fill a shape, make a quick change, or apply an effect, and then — boom! — you encounter the dreaded message:
“Could not complete your request because the content of the layer is not directly editable.”
Don’t worry, you’re in the right place. Whether you’re using Photoshop 2023 or an older version, this guide will walk you through step-by-step on how to fix this error quickly and easily — no advanced Photoshop knowledge required!
🎥 Prefer Watching the Fix Instead?
If you’re more of a visual learner or want to see exactly how it’s done, check out the video below:
📺 Want to watch this video on YouTube? Click or tap the link below:
https://youtu.be/0Z6Hx59xY8s
Step-by-Step Guide to Fix the Error
Let’s fix the problem step-by-step.
Step 1: Try to Use the Fill Tool
To start, I selected the shape layer in my Photoshop project and pressed:Shift + Backspace (or right-click > Fill).
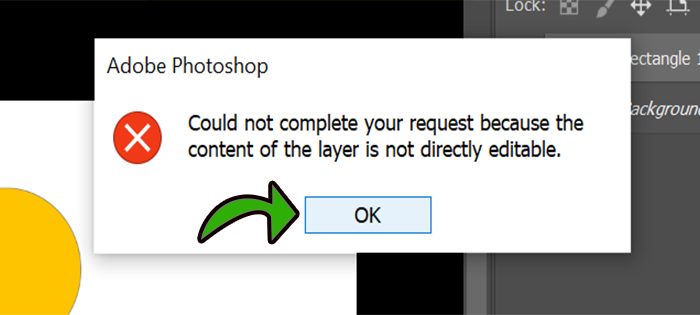
The error message popped up:
“Could not complete your request because…editable”
Don’t panic. Just click OK to dismiss the message.
Step 2: Identify the Layer Type
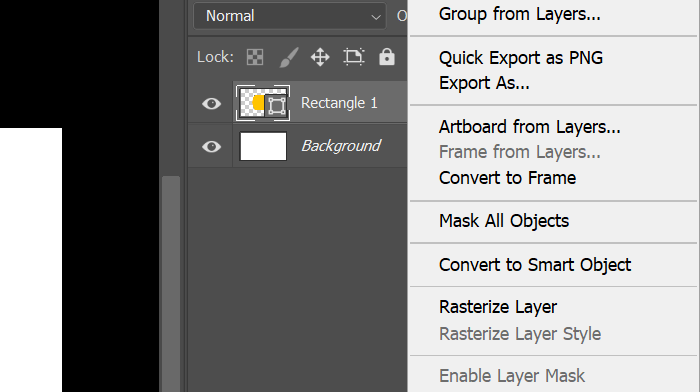
In the Layers panel. You’ll notice that the layer (e.g., Rectangle 1) has a little shape icon in the bottom right of the thumbnail.
That icon means it’s a Shape Layer. This is why Photoshop is refusing to apply a raster edit like filling color directly — it’s protecting the vector nature of the shape.
Step 3: Rasterize the Layer
Here’s the key step. Convert the vector shape into a raster format.
To do this:
- Right-click on the layer (e.g., Rectangle 1).
2. Then click on the Rasterize Layer
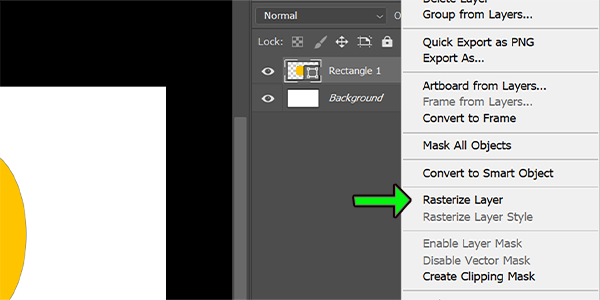
Once you do this, the shape icon will disappear from the layer thumbnail. That’s how you know it has successfully turned into a raster layer.
Step 4: Try the Fill Again
Now that the layer is rasterized, let’s try using the Fill tool again.
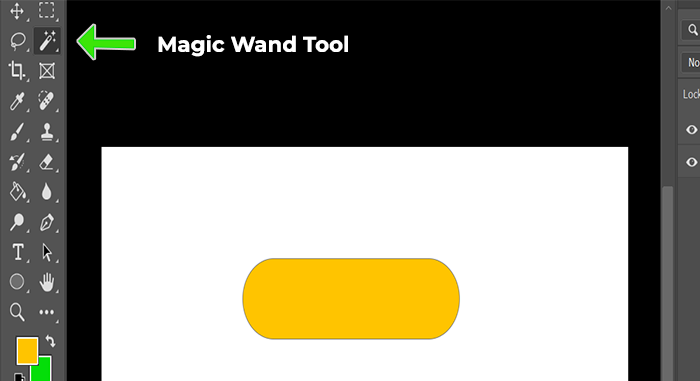
First, use the Magic Wand Tool to select the shape, which in my case is filled with the Citrus Splash color that I want to change.
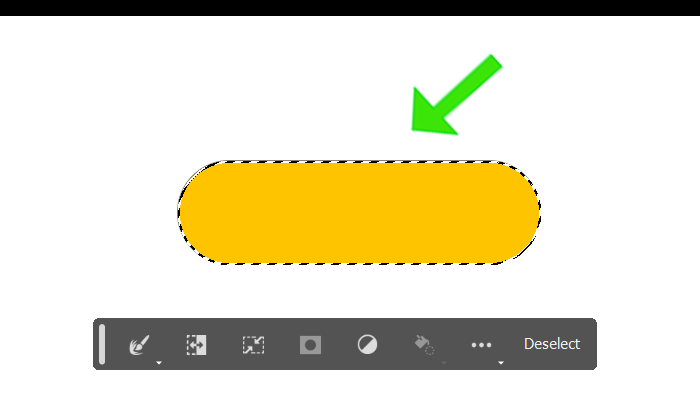
Next, press Shift + Backspace the Fill dialog box will appear. By default, the Contents option is set to Foreground Color. Click the small down arrow on the right side of Foreground Color and select Background Color.
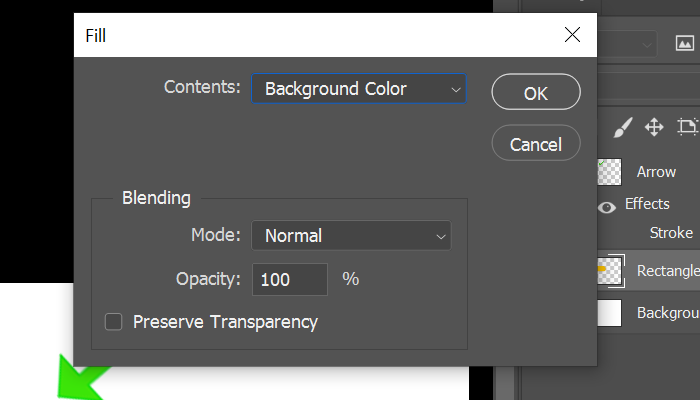
Then, click the OK button.
Voilà! No error this time. The fill works perfectly because you’re now working with a regular raster layer.
As shown in the image below, I changed the shape color from Citrus Splash to Neon Green.

Pro Tip: When to Rasterize and When Not To
While rasterizing solves the problem, it also removes the scalability and editability of your shape or text layer.
So only rasterize when:
- You’re done editing the shape or text,
- You need to apply pixel-based effects like fill, blur, filters, or brushes.
To avoid pixelation of the original shape or text, it’s recommended to first duplicate the layer (right-click > Duplicate Layer) and then rasterize the copied version.
Bonus Tip: How to Avoid This in the Future
If you frequently run into this problem, here are a few habits that can help:
- Label your layers clearly, so you know what type each one is.
- Check the layer icon before applying effects.
- Consider using layer styles or adjustment layers instead of direct edits if you want more flexibility.
These little tweaks can save a lot of frustration in your workflow.
💬 Still Stuck or Confused?
If this guide helped you fix the issue, let me know in the comments! And if you’re still facing trouble, don’t hesitate to drop your exact problem or share a screenshot (if you’re able). I’m happy to help wherever I can.
Photoshop has a steep learning curve, but with a bit of guidance, you’ll get the hang of it.
📌 Final Thoughts
This small Photoshop error can be a big headache if you don’t know what it means. But once you understand why it happens — and how to rasterize your shape layer — the fix is actually very simple.
If you’re someone who works with Photoshop regularly — whether for design, photography, or content creation — little tips like these can save you time and keep your creative flow going smoothly.
Other Common Software Errors You Might Encounter
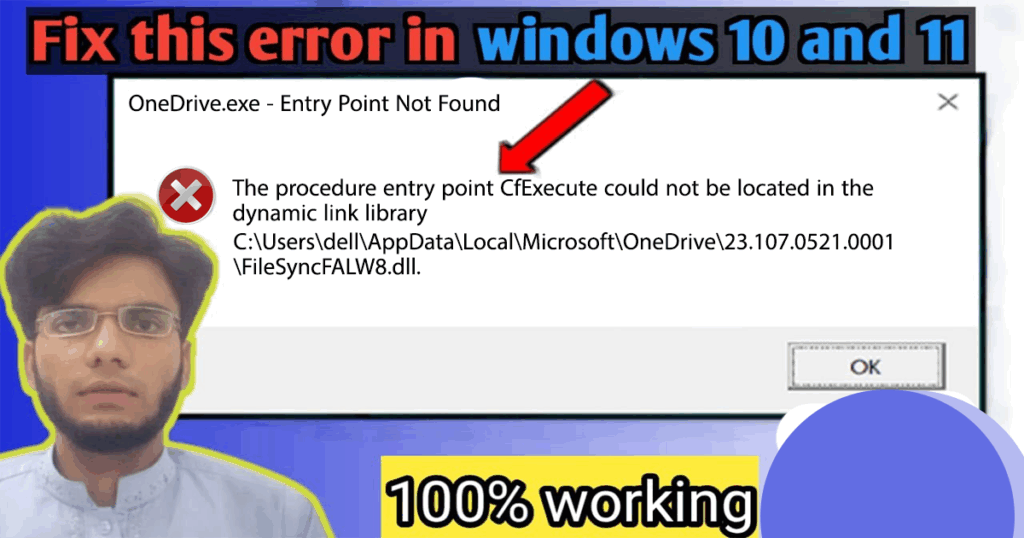
If you’re also encountering Windows startup issues like missing DLL files or entry point errors, don’t miss my detailed guide on how to Fix CfExecute DLL Error in Windows – Step-by-Step Guide.
Image Credits:
All images used in this post were created and edited by Saad Zaman Tanoli – Get Information and Knowledge.
Note: Any brand names or logos shown are the property of their respective owners and are used here for educational purposes only.
Frequently Asked Questions (FAQ)
Q1. What does “the content of the layer is not directly editable” mean in Photoshop?
Answer: This error usually appears when you try to apply a raster-based edit (like Fill or Brush) to a vector or smart object layer, such as a shape or text layer.
Q2. How do I know what type of layer I’m working with?
Ans: In the Layers panel you will see a small icon on the layer thumbnail. Vector layers in Photoshop are shown with a shape icon, whereas text layers display a ‘T’ symbol. In case if you can’t see any icon on layer thumbnail it means it’s a raster layer.
Q3. Will rasterizing a layer ruin my design?
Answer: Rasterizing removes the vector properties, so you can’t resize or edit text/shapes as easily afterward. It’s safe if you’re done editing or if you duplicate the layer before rasterizing.
Q4. Can a rasterized layer be restored to a vector or text layer?
Answer: No, a rasterized layer can’t be restored to its original vector or text form. That’s why it’s a good idea to duplicate the layer before rasterizing.
Q5. Is there a way to fill a shape layer without rasterizing it?
Answer: Yes! You can change the Fill color from the Properties panel or use the Shape Tool options without rasterizing. This maintains its vector properties.
Q6. What does Shift + Backspace do in Photoshop?
Answer: Pressing Shift + Backspace opens the Fill dialog box, where you can choose to fill the selected area or entire layer with a specific color like Foreground, Background, Black, White, or even Content-Aware.
Q7. Why does Shift + Backspace fill the entire layer sometimes?
Answer: If no specific selection is active, Photoshop assumes you want to fill the entire layer, which includes everything on it. This is especially noticeable on raster layers.
Q8. How can I use Shift + Backspace to fill only a shape (like Rectangle 1)?
Answer: Follow the below steps:
- Select the Magic Wand Tool (W).
- Select the shape layer you want to fill.
- Rasterize the shape layer by right-clicking it in the Layers panel and choosing Rasterize Layer
- With the Magic Wand Tool, click on the shape area to select its colored portion.
- Press Shift + Backspace to bring up the Fill dialog box.
- Choose Background Color or any other fill option.
- Click OK—only the shape’s color will change.
Q9. Will this work with shape layers (like vector shapes)?
Answer: Not directly. Vector shapes have their own Fill Color in the top options bar. Before using Shift + Backspace, make sure the shape layer is rasterized.
Q10. What if the fill doesn’t work?
Answer: Make sure:
- You’re on the correct layer.
- Make sure a selection is active if you intend to fill only a specific area of the layer.
- The layer isn’t locked.
- You’re not trying to fill a vector shape with the Fill dialog without rasterizing it first.
I hope this guide was helpful to you! If it was, consider sharing it with others who might find it useful.
Need more help? Browse the blog for solutions to common issues in various software tools.